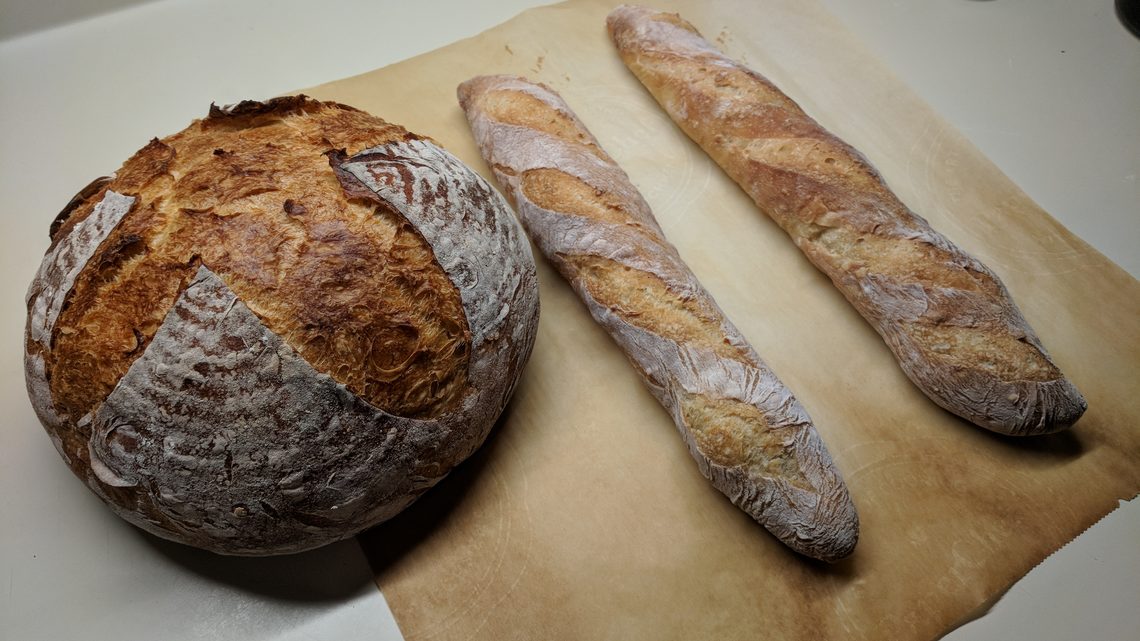
Working from home over the last few months, many people have found refuge by indulging in activities they might not otherwise have had time to enjoy. A particularly popular option has been bread-baking. In March, Google searches for the phrase “bread recipe” shot up in popularity.
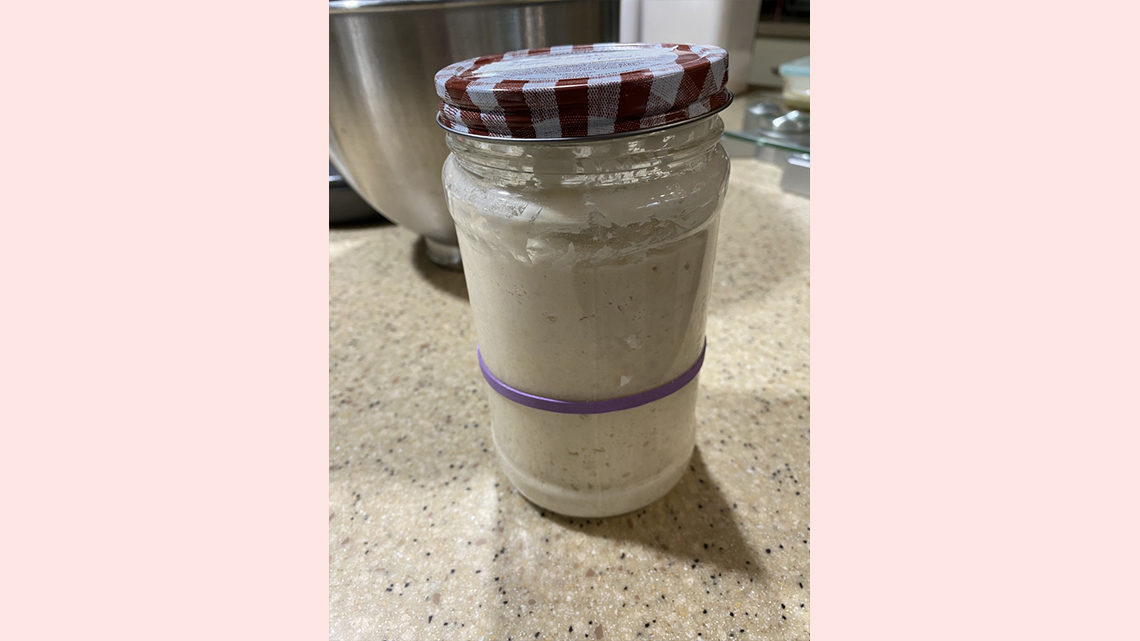
Another common phrase among Google users that month was “sourdough starter,” referring to a microbe-containing mixture bakers use to create sourdough bread.
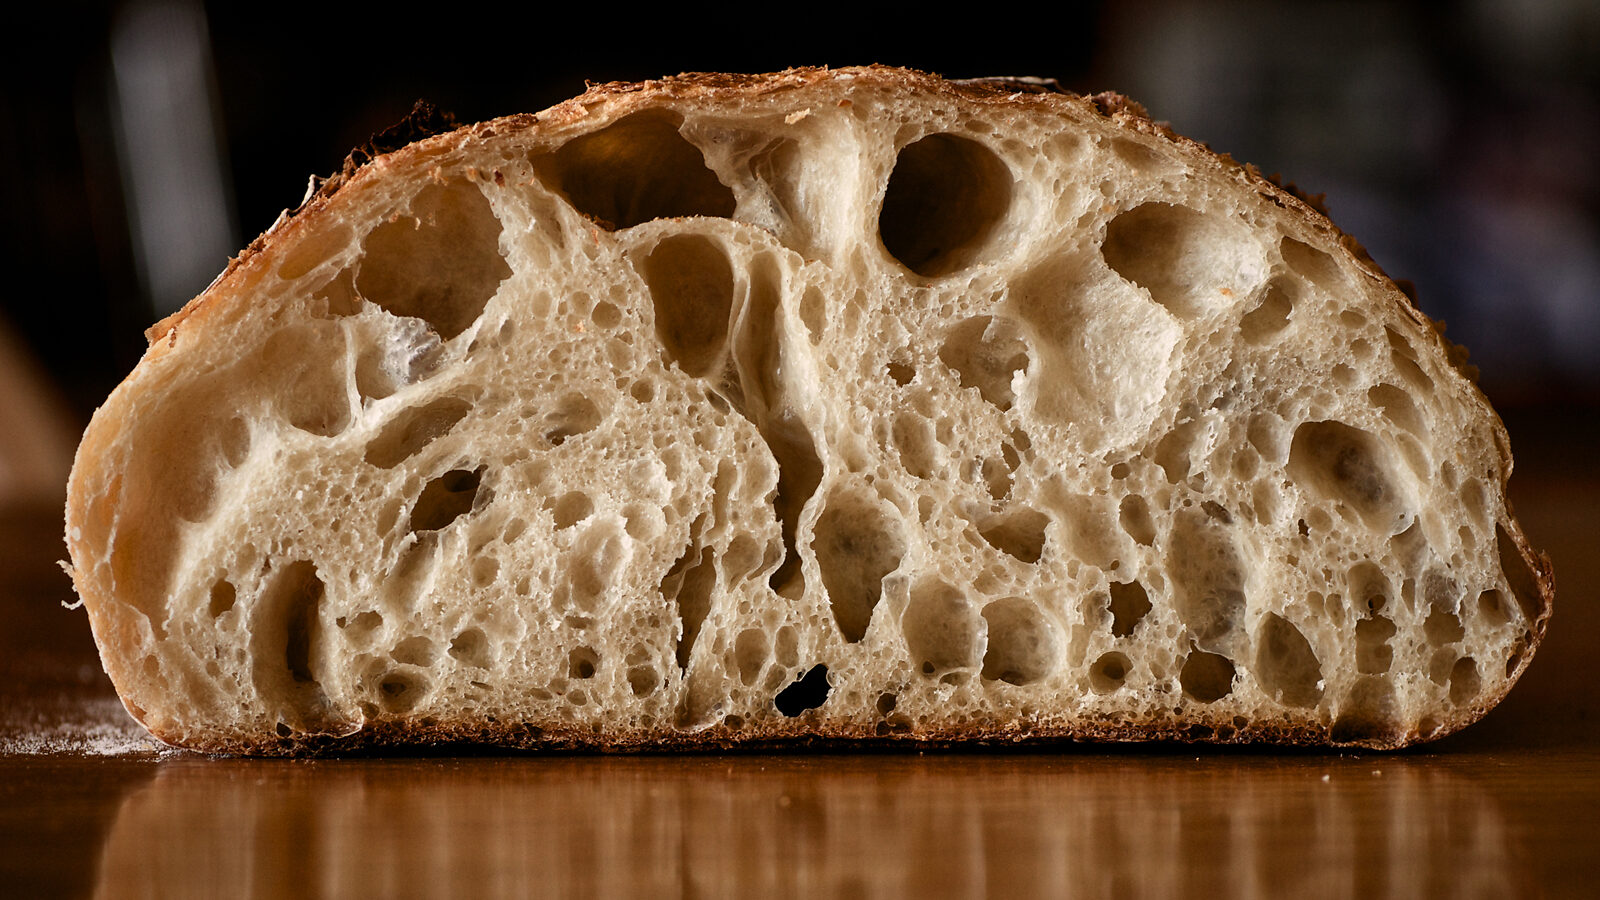
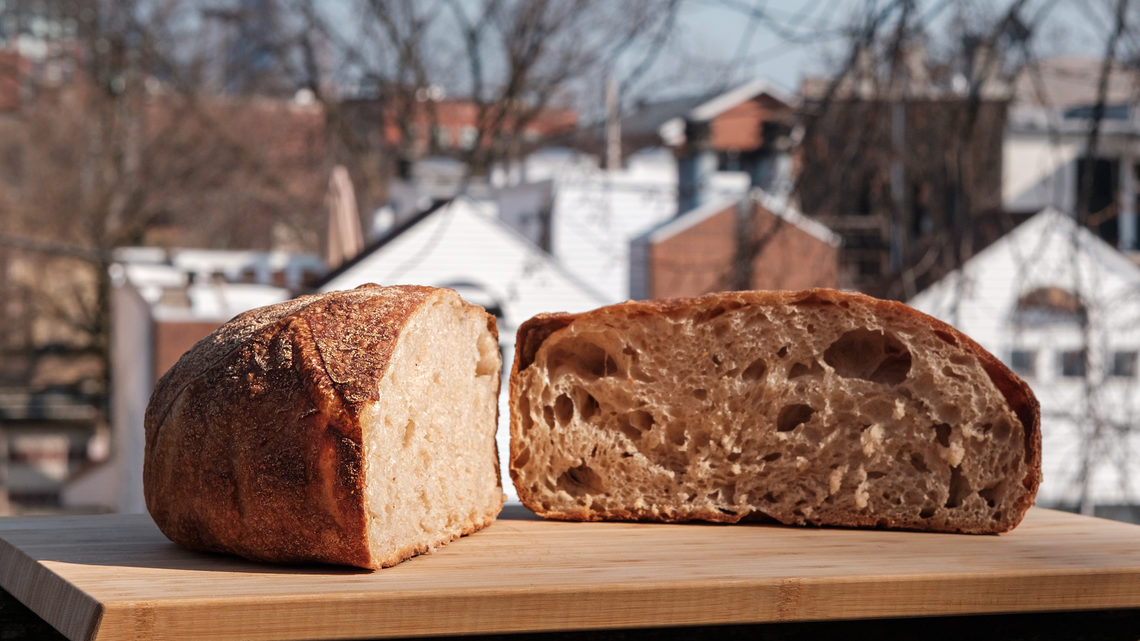
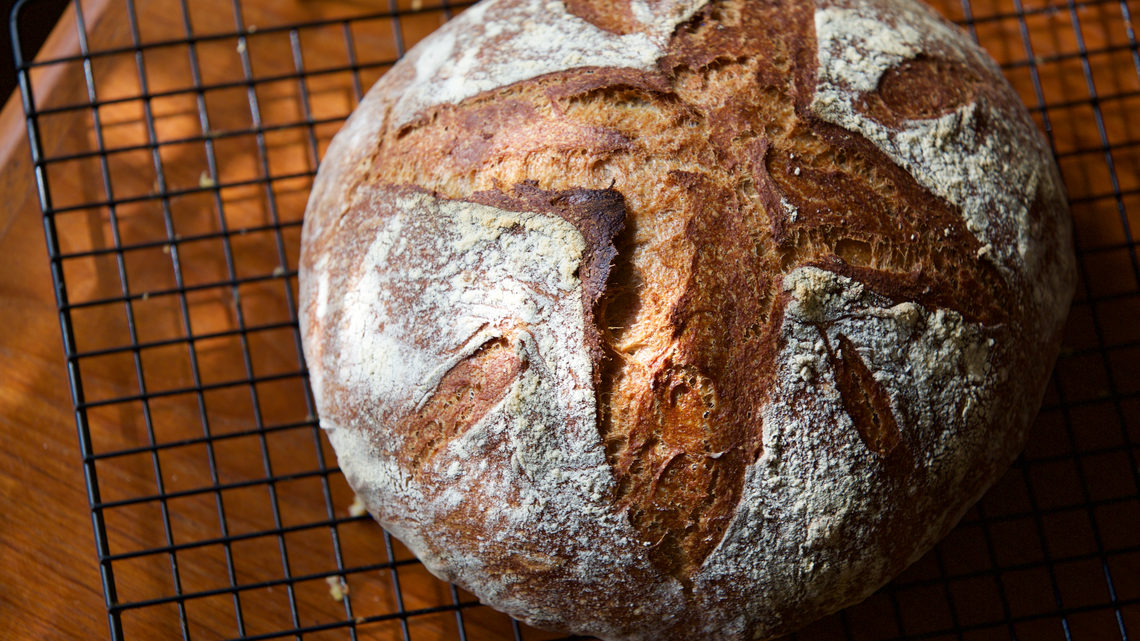
Most of the leavened bread made throughout history has been a type of sourdough. The first loaves date back to the ancient Mesopotamians and Egyptians at about 1000 B.C. The recipe for sourdough was likely discovered when dough for a loaf of bread was allowed to sit out too long before baking, allowing microbes from the surrounding environment to percolate through it.
These bacteria give the bread its distinct, sour flavor. They generate tangy-tasting lactic acid when they undergo fermentation, the gas-producing process that causes bread to rise.
It wasn’t until the late 1700s that commercial breweries began to sell the yeast that floated to the tops of their vats to bakeries and individuals to use as instant yeast. When this yeast is used to make bread, acid-producing bacteria aren’t given enough time to suffuse the dough, and thus the sour taste is absent.
Sourdough starter can be made from scratch. But it’s a lengthy process, so bakers often share their starters, which—with proper care and feeding—can be kept alive for generations.
Among the physicists partaking in baking, many have at least a few years of practice, having gotten their start (and starter) through colleagues at Fermi National Accelerator Laboratory. For them, the story goes back to 2017, when Texas A&M University graduate student Ryan Mueller arrived at Fermilab as a visiting scholar, bringing with him his jar of microbes.
Mueller did a lot of baking when he first arrived at Fermilab, as both he and his sourdough starter adjusted to his new home.
“When I got up to Chicago, all of my sourdough recipes were a little funky because I had to adjust them for the different climate,” Mueller says. “So I was working to perfect it and relearn how to get my sourdough to the same quality.”
All of that testing meant that Mueller had a lot of extra bread to share with coworkers, many of whom quickly transitioned into baking their own with help from Ryan’s starter. It’s unclear exactly how many times the starter has changed hands or where it has ended up. But Mueller knows at least several dozen people have acquired a portion at this point in several different states.
With each propagation comes the responsibility to both care for the new batch—and to give it a name.
“The myth is that it’s good luck to name your sourdough,” Mueller says. “So I named mine Frank. I think everyone I gave it to chose to give theirs ‘F’ names.”
And so Frank became “Fred” in the care of University of Illinois physicist Marguerite Tonjes, and Fred became “Faux, son of Fred, son of Frank” when Tonjes passed it along to perhaps the latest recipient, Fermilab physicist Brendan Casey.
Casey joined Mueller’s sourdough family in mid-March, after posting on social media about his local grocery store’s lack of yeast. Tonjes came to the rescue, offering him a portion of her starter. Following social distancing protocols, the two kept far away from each other during the exchange.
“She left it on her mailbox and yelled instructions from her garage on how to take care of it,” Casey says.
Mueller says he never expected his starter to take off the way it has among his fellow physicists.
“I didn't have any idea that people would find starters so cool once I gave them a little bit of rotted flour,” he says with a laugh. “And I’m really thrilled, because all of them are making all sorts of cool stuff.”
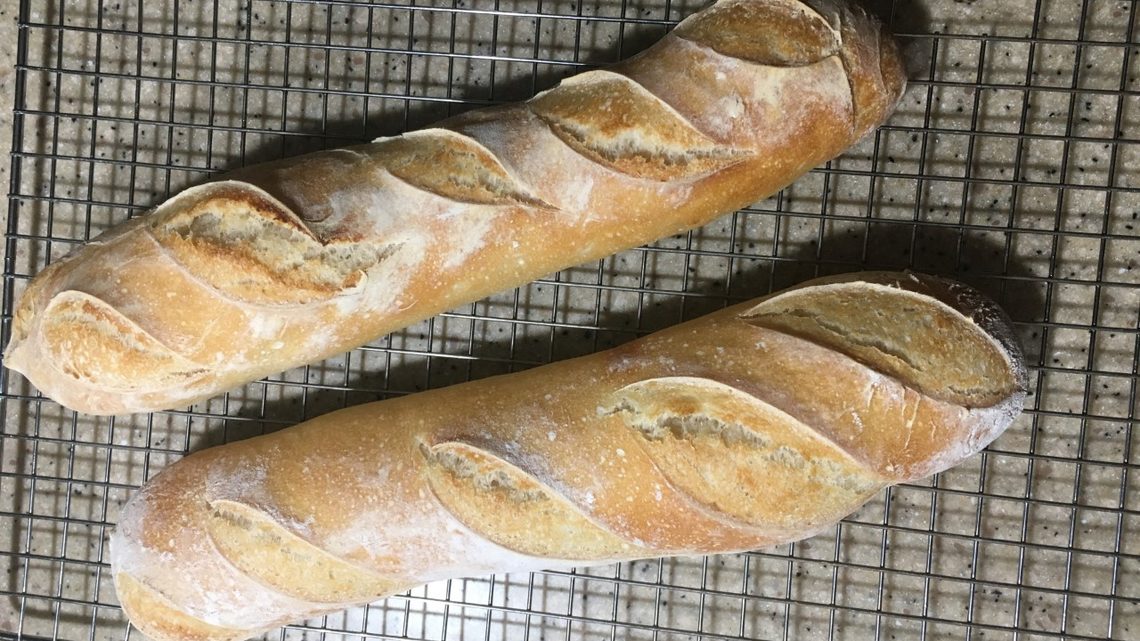

Recipes
If you’d like to try out sourdough baking for yourself, here are a few instructions (courtesy of Ryan Mueller) on caring for your starter and two recipes.
Caring for a starter
Your starter is alive, and it needs to be fed! Feed it once a day if you keep it on the counter or once a week if you keep it in the fridge. Starters can last longer between feedings, but they will need to be fed a few times before they are ready to bake with.
Feeding instructions:
- You only need to keep a small amount of starter for all of your baking needs. Remove most of the starter from the container you store it in. This can be used for baking, shared with friends or discarded. Keep about 10 g of starter.
- Mix 50 g of water and 50 g of flour into the container with the 10 g of starter. (You can make more starter if you want more. Use a 1:1 ratio by weight for the water and flour).
- If you plan to refrigerate the fed starter, let it first sit at room temperature for an hour before refrigerating.
Your starter should get nice and bubbly over the course of a few hours at room temperature or a few days in the fridge.
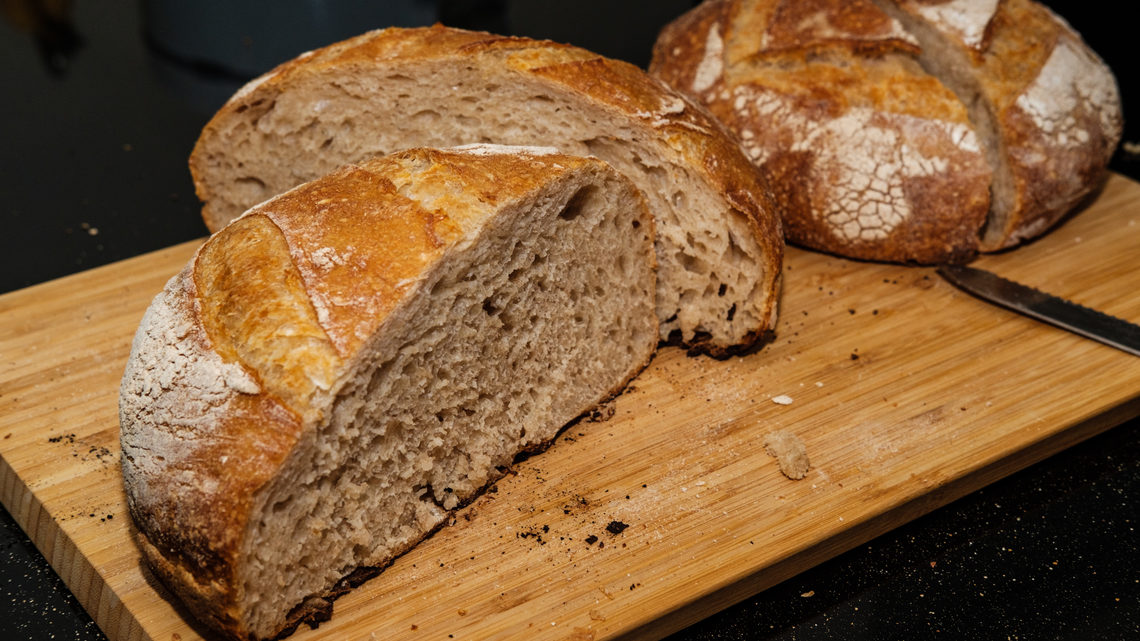
Sourdough French batard - Marguerite Tonjes
Notes
Technique adapted from "Artisan Bread in Five Minutes a Day." This is a roughly 75% hydration dough. The starter feeding is based on 4 ounces of starter, adding 4 ounces of water and 4 ounces of flour.
You will need a 4-quart mixing bowl, a baking stone or baking sheet, and parchment paper
Ingredients
- Discard starter, 7.8 ounces
- Water, 5 ounces + 5 ounces
- All-purpose unbleached flour, 5 ounces + 9.5 ounces
- Kosher salt, 1 tablespoon
- Ice cubes or water as needed
Directions
- Feed your discard starter. Place 7.8 ounces of discard starter in a 4-quart mixing bowl. If you don’t have enough discard, just add more flour and water at 1-to-1 ratio until you have 7.8 ounces.
- Stir in 5 ounces of room-temperature water and 5 ounces of all-purpose unbleached flour. Let rest loosely covered on a counter for eight to 12 hours, until your starter in the bowl is doubled in size and is bubbly, which means it is now active.
- To your now active starter, mix in 5 ounces of room temperature water and 1 tablespoon of kosher salt. Add 9.5 ounces flour and mix with a large spatula. It may take a few minutes for all the flour to be absorbed and the dough mixed. You can use the spatula to scoop dough from the bottom to fold over the top, working around the bowl.
- Let the dough sit loosely covered for another two to 12 hours, until it has doubled in size. A longer rest time gives better flavor, but if your start is very active or your room is very warm, the dough can rise and then fall (overproof). If a longer rest time is desired, then put the dough, loosely covered, in the refrigerator after it doubles in size, for up to 24 hours. These are rough guidelines based on this sourdough starter; some experimentation might be needed for yours.
- When it is time to prepare the breads, place a rimmed metal pan that can handle heat changes on the bottom rack of the oven. Place a baking stone on the middle rack of the oven. If you don’t have a baking stone, place a flat baking sheet on the middle rack.
- Turn oven on to 450 F.
- Line a separate baking sheet or bread paddle with parchment paper, paper that bread will slide off easily. Dust your clean work surface with flour, and dust the top of the dough with flour.
- Remove the dough from the bowl, forming it into a ball, pulling the floured surface around the ball.
- Cut the dough in half using a bench knife on your work surface. Place one half aside. With the first half, form a batard by rolling a log about one-and-a-half inches in diameter and the length of your baking sheet. Do the same with the second half of the dough.
- Place both batards on the parchment-paper-lined baking sheet, setting them at least one-and-a-half inches apart as they will spread. If your sheet is too narrow, tent the parchment paper in between the batards.
- Once your oven is preheated, using a sharp knife, slice 4-5 diagonals in each loaf. For baking stone, using oven mitts, carefully slide the breads and parchment paper onto the hot baking stone. For baking sheet, put it in the oven. Place 1.5 cups of ice or 1 cup of water into the metal tray on the bottom rack. (Remember that adding ice to a preheated tray can break glass, which is it is important to use a heat-proof metal tray, one you don’t care that gets warped or broken.)
- For baking stone: bake for 10 minutes, again with oven mitts, remove parchment paper and have loaves directly on the stone. Bake 15 minutes more, or until medium brown.
Alternately: For baking sheet and not stone, bake for 25 minutes or until medium brown. - If you have a convection oven, for an additional 2 to 3 minutes at 425 F convection for a browner loaf. The temperature inside the bread should be 190 F to 200 F.
- Remove bread and cool completely to room temperature on a wire rack before slicing and eating. Store at room temperature or after a couple days in a sealed container. You can store the loaf, cut side down, on a wooden cutting board. After that time, slice and freeze, or freeze the complete loaf.
- To have a perfectly crispy previously frozen loaf: Thaw at room temperature for eight to 12 hours. Bake in preheated oven at 350 F for 15 to 20 minutes. After thawing and reheating the frozen bread, you can serve it warm, and you need a good, sharp bread knife.
Sourdough boule - Gabriele Benelli
Notes
This recipe assumes a starter that is 100% hydrated: half water, half four in weight.
You also need a boule bread basket or a 2.5-quart Pyrex bowl, a baking stone, a damp cloth, parchment paper and a Dutch oven.
Ingredients
- Starter, 200 grams
- Water (very warm), 450 grams
- Unbleached white flour, 450 grams + 350 grams
- Salt, 30 g
- Rosemary, 2 teaspoons, divided
- Olives, six to eight, pitted, quartered
- Gluten-free flour for sprinkling
- Optional: olive oil
Directions
- Using a pastry dough whip or hand mixer, mix the starter, water and 450 grams of flour together in a large bin or container that has a lid. Make sure all the flour is absorbed and the dough is uniform. Close the bin or container.
- Allow the covered dough to rest on the counter between 8 and 16 hours. It should rise to about twice its original volume and become bubbly.
- Uncover the container. Add the remaining 350 grams of flour and the salt to the container with the dough.
- Mix the ingredients again. The dough this time will not be a wet, starter-like mix. It will be harder to mix by hand, but do so until all the flour is absorbed.
- Once it’s almost mixed, place the dough on the counter and knead it slightly.
- Put the dough back in the container and close the lid.
- Optional folding step: Every 15 minutes or so, complete a fold rotation of the dough in the container. Do this three or four times.
To make one fold, simply stick your hand on one side of the dough all the way to the bottom, pick up the dough, stretching it up, and then fold it to the opposite side as though it’s a blanket you’re trying to tuck on the opposite side. Rotate the container 90 degrees and repeat. Once you've folded each of its four sides, close the lid and wait 15 minutes. You've completed one fold rotation. Repeat the fold rotations two or three more times. Close the lid.
- Let the dough rest between three and six hours. Once the dough has almost doubled its volume again, you’ll be ready to shape your sourdough boule.
- Pour the dough from the container on a liberally floured counter space.
- Flatten the dough with your hands, forming a sort of rectangular shape.
- Sprinkle about 1/2 teaspoons of rosemary on the dough and add one or two pitted, sliced olives, trying to keep the olives closer the edges of the dough.
- Fold the dough once, picking up the bottom and folding it to just past the halfway point of the dough. Add another 1/2 teaspoons of rosemary and another one or two pitted, sliced olives.
- Fold the top portion of the dough down to just past the halfway point. Add another 1/2 teaspoon of rosemary and another one or two pitted, sliced olives. Optionally, sprinkle a bit of olive oil onto the dough.
- Fold the left side of the dough over.
- Fold the right side of the dough over, and as you do, quickly flip the dough upside down so that the folded dough crease is at the bottom and the smooth, rounded shape is on top.
- Form a crust: On an unfloured surface, slide the boule toward you an inch or so, tucking the far edge under the boule as you do. Rotate the dough 90 degrees and once again slide the boule toward you along the counter. Repeat a few more times, until you achieve a tense layer on top. This layer will become your crust.
- Flour a boule bread basket or a 2.5-quart Pyrex bowl that has a lid with a gluten-free flour (rice flour works well) to prevent your bread from sticking.
- Flip the bread upside down into the basket or Pyrex bowl. The crease should be face-up, and the tense crust should be face-down in the basket or bowl.
- Cover the basket or bowl with a damp cloth and let it rest for another one to two hours.
- Once you see that the dough is starting to rise again, turn your oven to 475 F. Optionally, place a baking stone on the middle rack of the oven.
- Once the oven has reached its temperature, cut a piece of parchment paper big enough to cover the top of the bread basket or Pyrex bowl, remove the cloth, and flip the bread onto the parchment paper.
- Place the parchment paper with the bread sitting on top into a 6.5-quart Dutch oven.
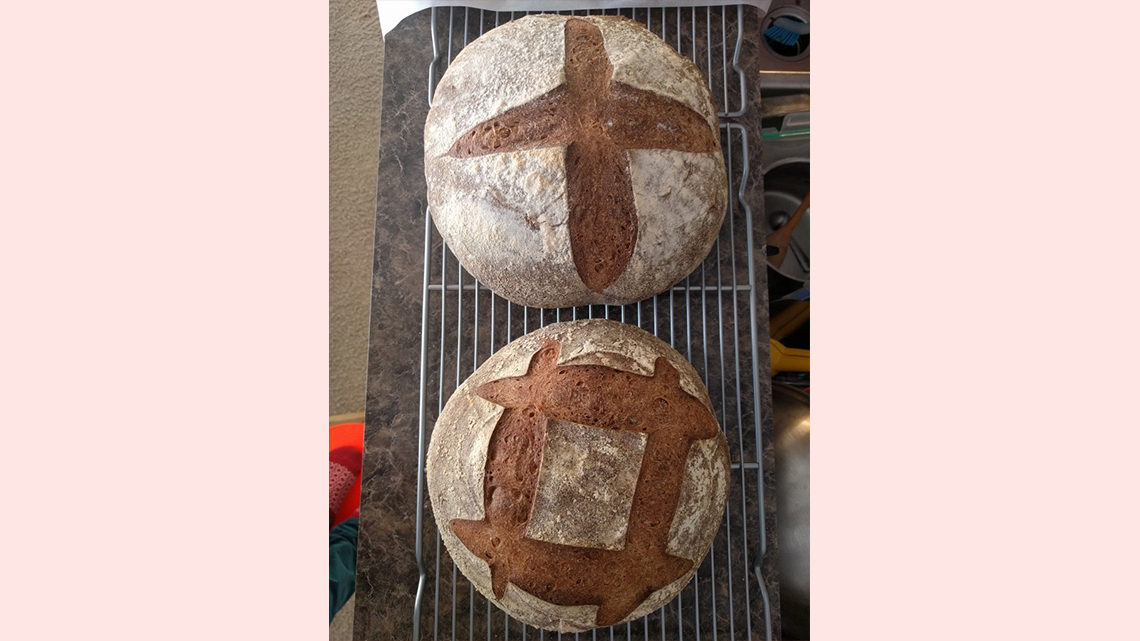
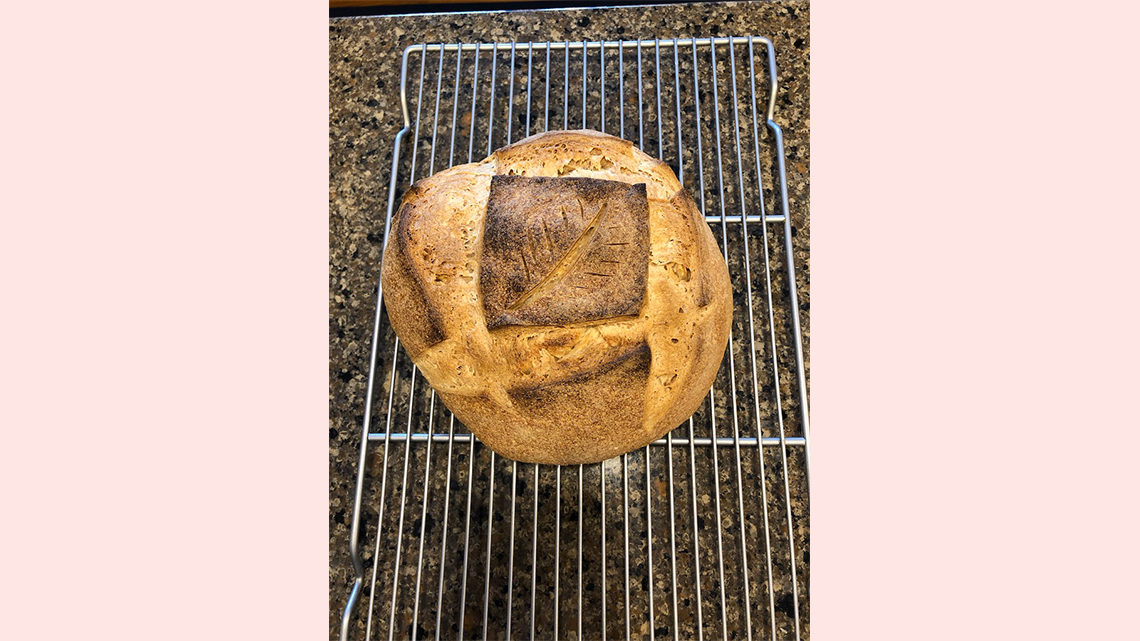
- Score your boule. A typical mark is a cross along with four smaller cuts in the quadrants.
- Cover the Dutch oven and place it in the 475 F oven (optionally on the baking stone in the oven) for 32 to 35 minutes.
- Remove the Dutch oven lid (the boule should be fully developed) and continue baking the boule, uncovered, for another 18 to 20 minutes depending on how crunchy you like your crust.
- Remove the Dutch oven from the oven, and then move the boule to the counter. Wait between 15 and 30 minutes before cutting.
- Cut it in parallel slices. Cut in half first, then make parallel cuts on either side of the central cut.
Sourdough crackers – Ryan Mueller
Notes
These are surprisingly good and easy. Try it out if you have discard starter.
Ingredients
- Starter, 300 g
- Flour, 135 g
- Butter or plant-based oil, 70 g
- Salt, 6 g
- Herbs, about 2 tablespoons
Directions
- Mix a dough with the above ingredients in the listed amounts.
- Let rest for 30 minutes.
- Roll out dough until it's about 1/16-inch thick or until you can start to see some light through it when you hold it up.
- Cut into square or triangle shapes and score with a fork.
- Place scored dough on a flat baking pan, and place pan in oven. Bake in oven for 25 minutes at 350 F/175 C or until browned. Rotate halfway through.
- Let cool on wire rack for a few hours.